Making the 360 tour
Many thanks to Henry Cleary who took these photos towards the end of 2020, allowing virtual visitors to the VIC 56 at a time when visits in person are not possible. The notes below are a personal summary of the process.
The tour is here.
The camera:
I chose the Samsung Gear 360 (2016) camera. It has a good resolution, and is now (2020) widely available second hand at reasonable cost (well under £100). There are many other options available. Many are aimed more at video performance, which is generally limited by the processing rate for each frame, not the sensor resolution. This means that many more recent cameras actually have lower still photo resolution.
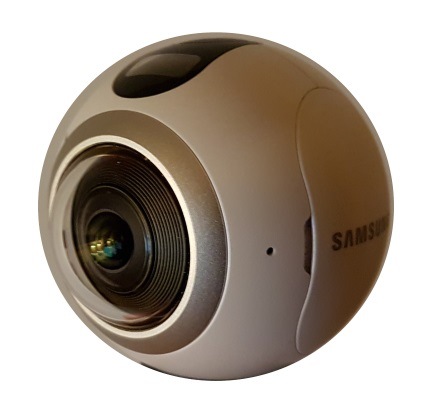
The Gear 360 (2016). Photo from https://github.com/ultramango/gear360pano
This is a small camera, about the size of a tennis ball, and has two lenses. It is effectively two cameras back to back, and each takes a fisheye photograph, so between the two you get a photo that includes a full 360 degree photo of your surroundings, in all directions.
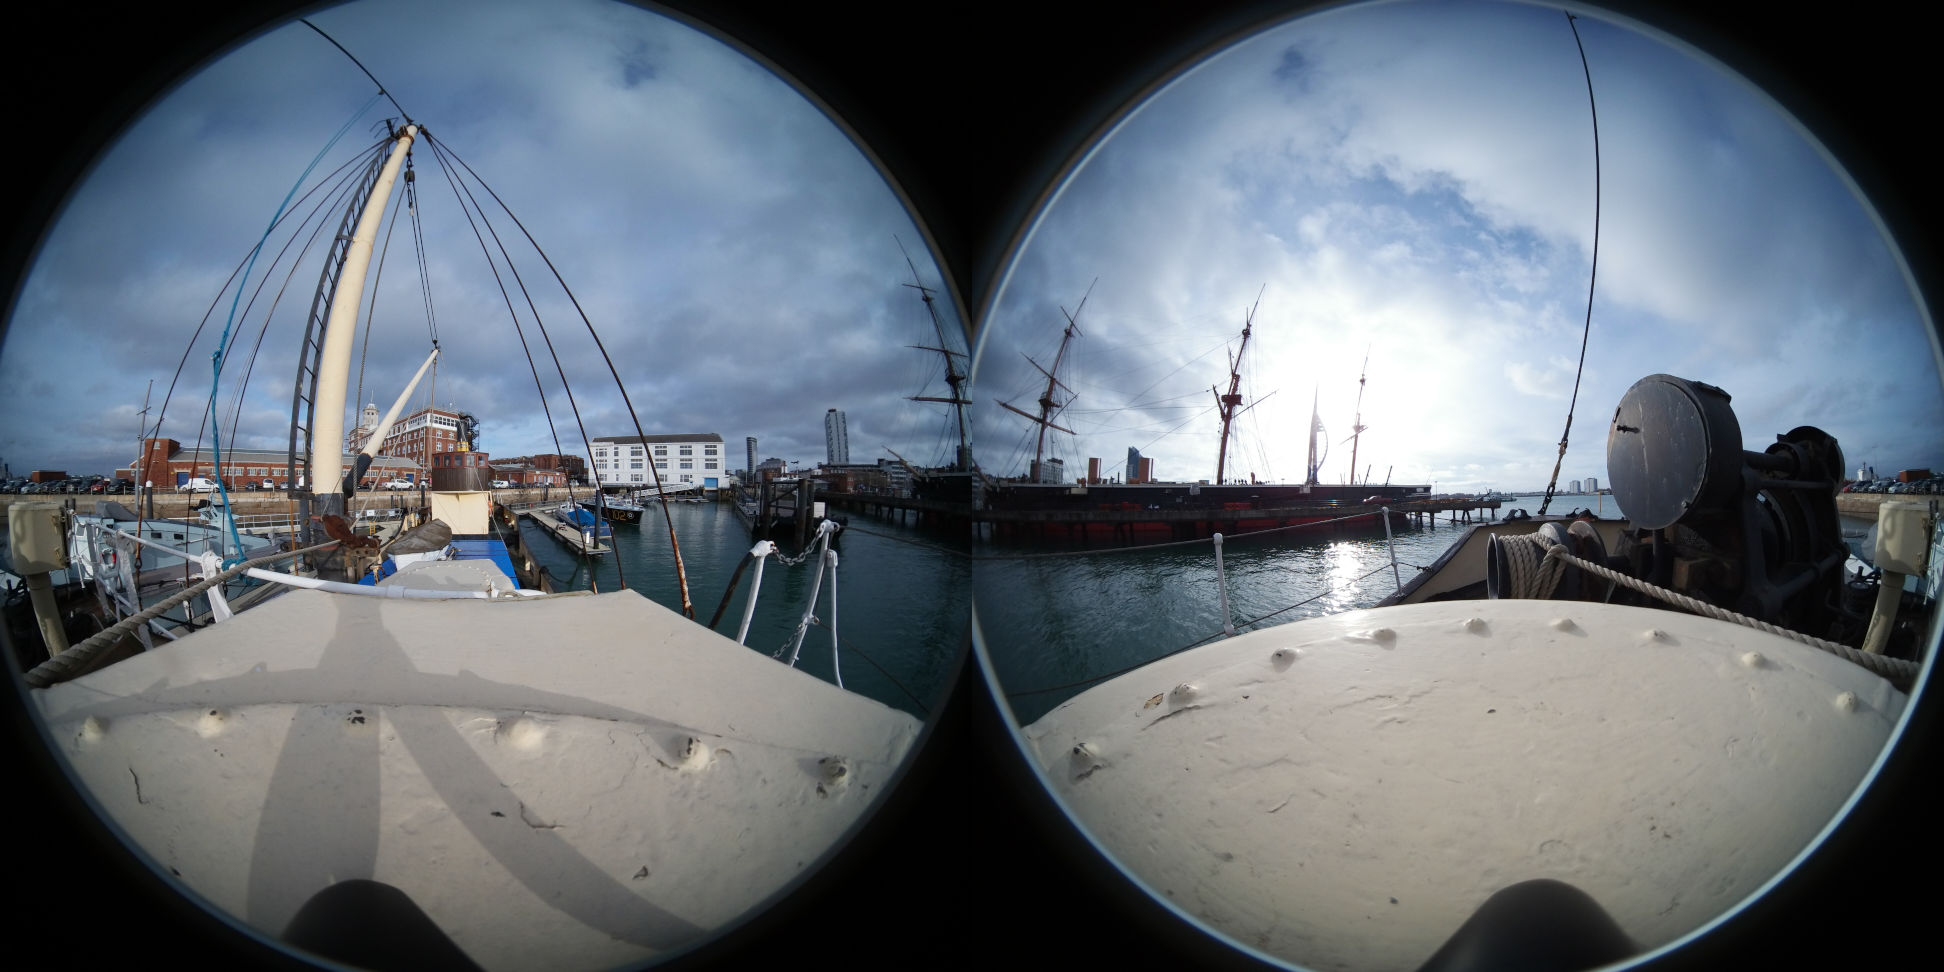
Notice that the bow of HMS Warrior appears in both photos, as does the starboard side focsle ventilator.
Because of this, the self timer is important, so the photographer can move out of sight before the photo is taken. There is no 'behind' the camera! Alternatively, you could take two photos, one where the photographer is on one side, and one on the other side, and stitch these.
Stitching
This photo now needs to be 'stitched' into a single picture. In this case, I used gear360pano, which automates the process using Hugin. This is called an equirectangular picture, and although it looks very distorted, it contains an entire 360x360 view, and can be uploaded directly to services like facebook. Notice that where the photo contains areas that are very close and very far from the camera, it is difficult to combine these without some artefacts appearing. This would be improved if the camera were on a tripod, so the foreground wasn't so close, and happens because the two lenses are a few centimeters apart.
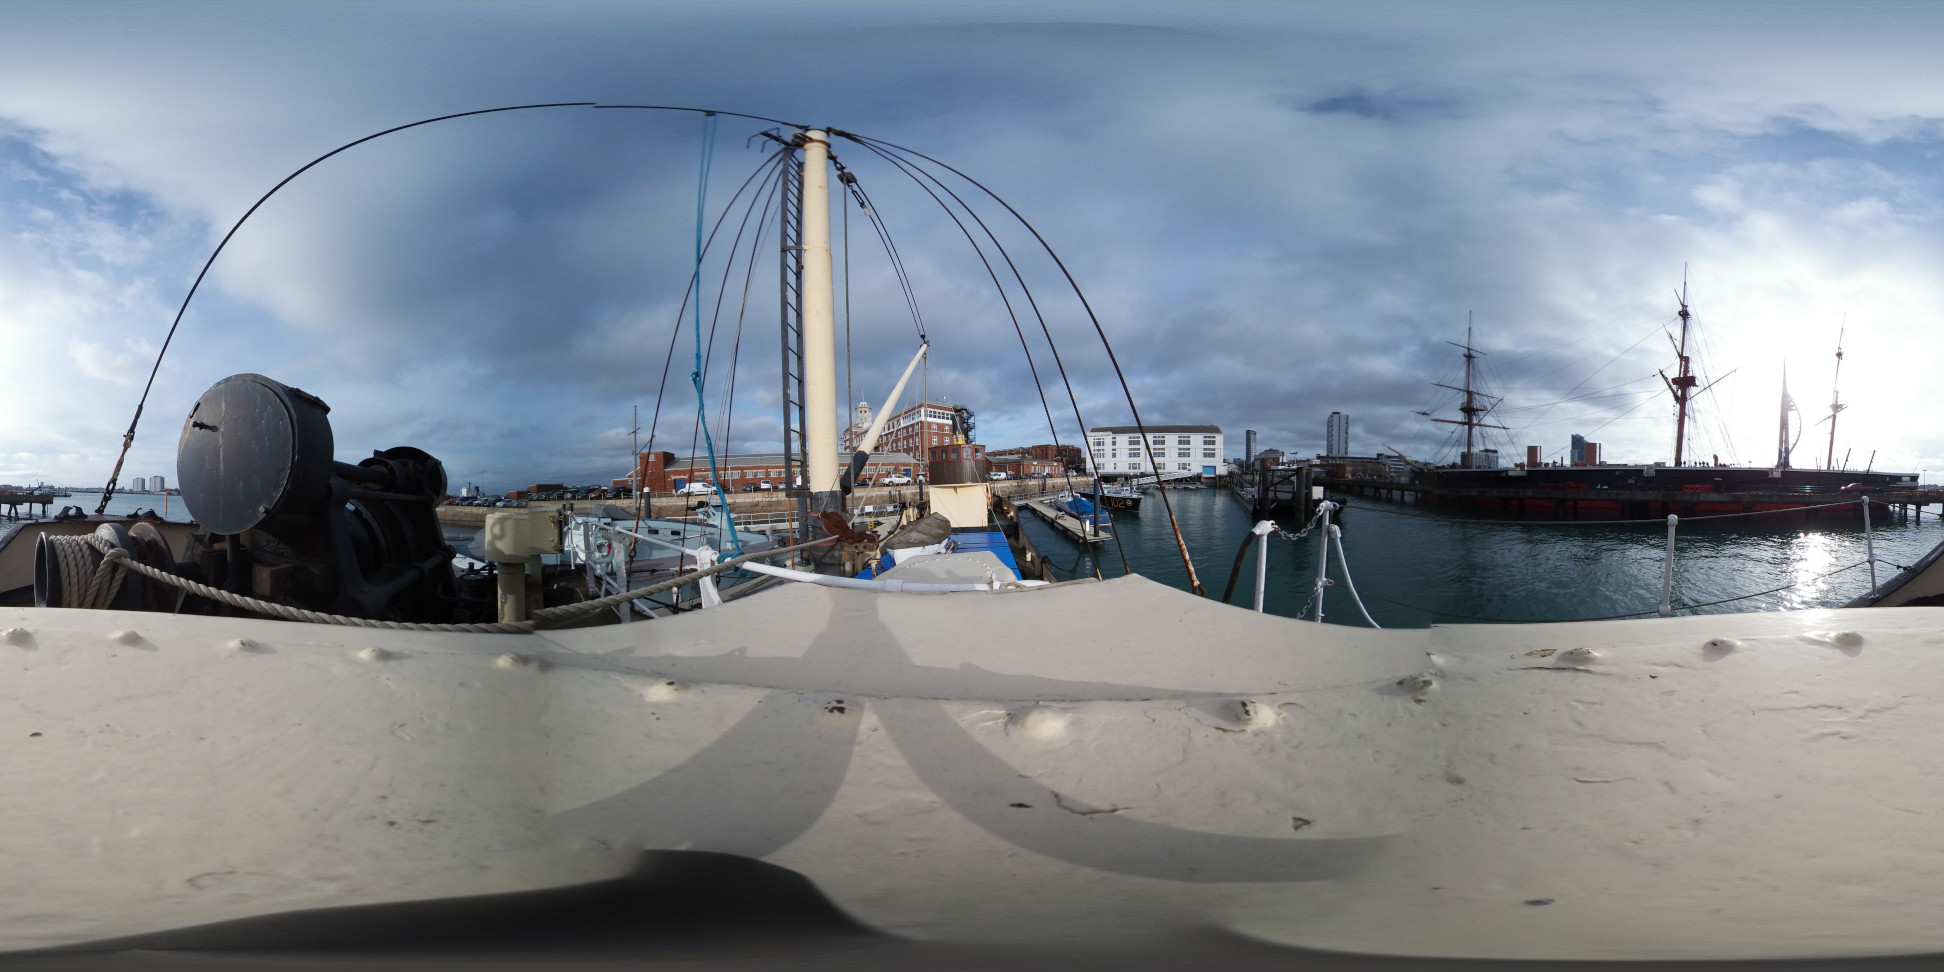
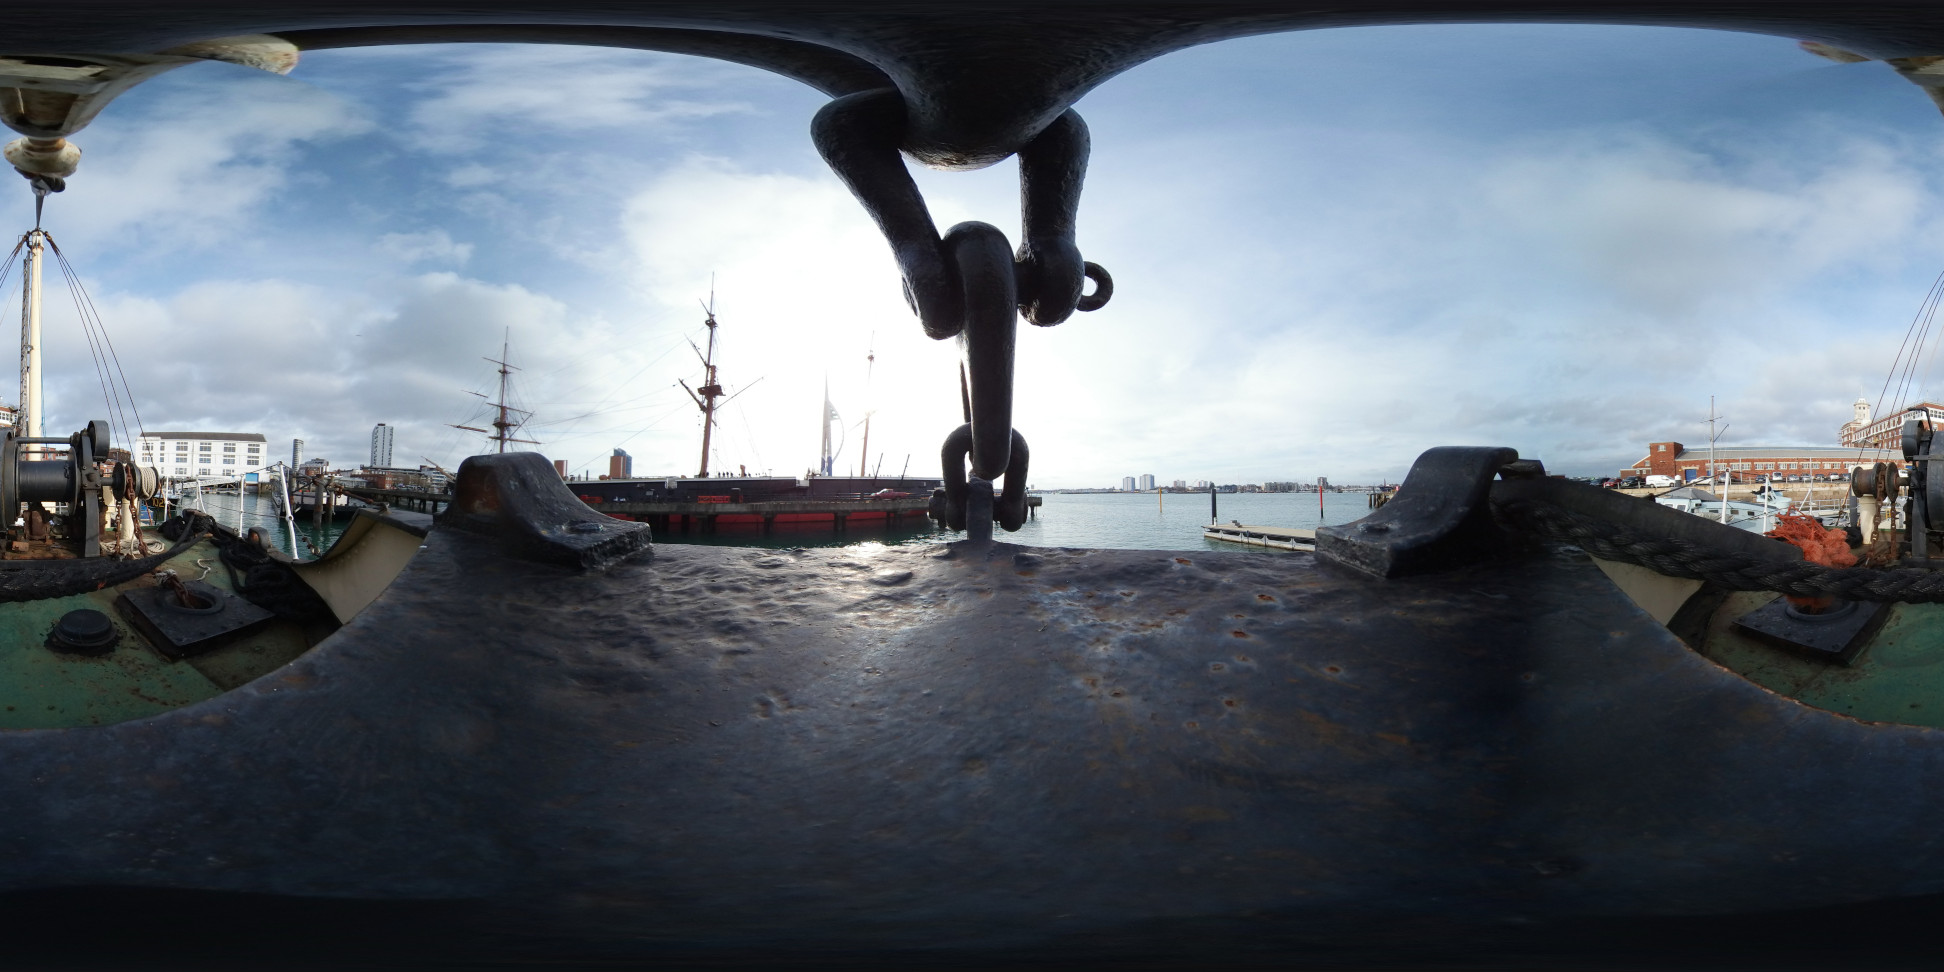
The stitched photo. Notice the artefacts around HMS Warrior's mast - this is on the stitch line between the two photos, and appears because the stitching process struggles to align the very close foreground and the more distant view.
The final stage in generating the output photo is to straighen the horizon.
Because the camera takes a view of the entire surroundings, it isn't actually that important to keep the camera flat, but we need to make sure the horizon is level when we create the final image, otherwise the resulting view will be very disconcerting! This is done with Hugin, and is a simple process of dragging the image until the horizon is flat (easier if the sea is visible). To do this, we just start a new project in Hugin, import our image, then change to the 'Move/Drag' tab, and drag the image until happy. Then we move back to the 'Assistant' tab, and click on 'Create Panorama...', choosing the resolution and format for the resulting file.
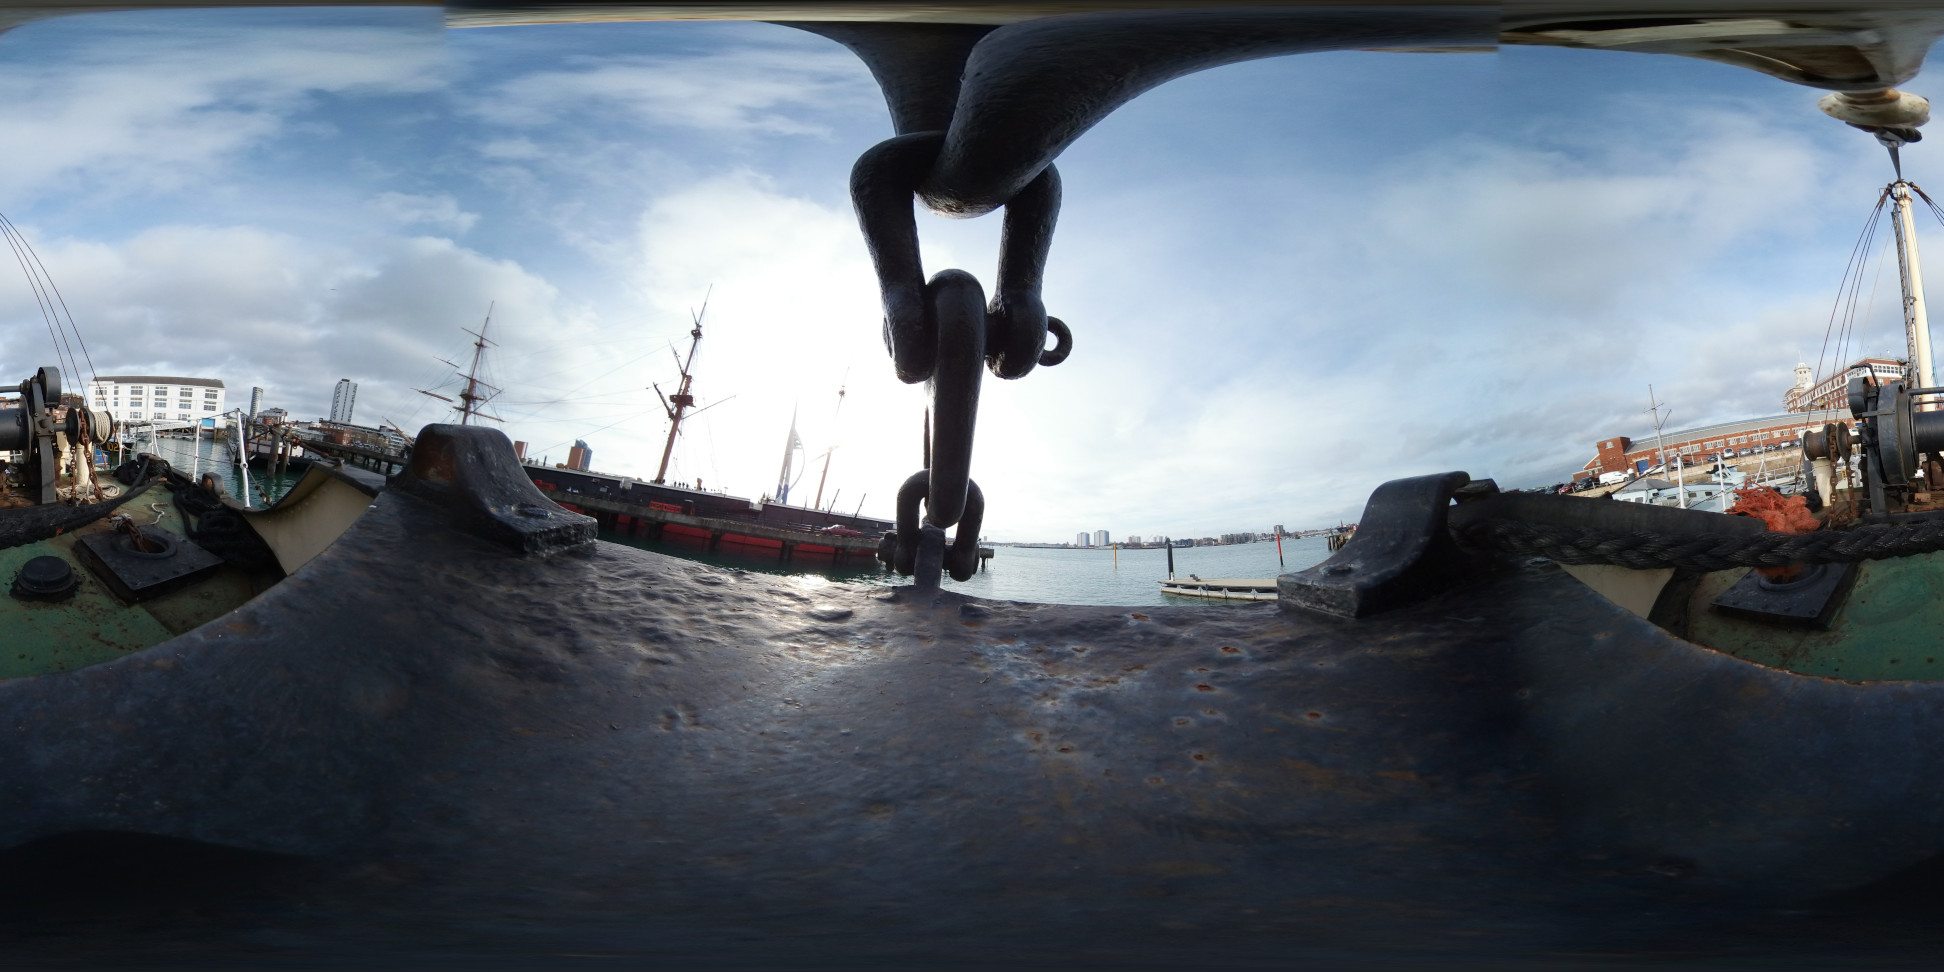
Before and after straightening. Note the horizon
The tour
To turn the series of photos into a full tour, we need to allow the user to jump between them, and add information snippets. There is lots of software that can do this. I used Marzipano, which is developed by Google, although not an official Google product. It is free, and the resulting tour can be hosted anywhere online. The Marzipano tool is an easy to use front end to create the tour, which can be used without any programming knowledge.
To make the tour work well, we need enough photos that the user can see where they would like to jump to next. We don't need one for every step of the way, but for example having enough exterior photos where you can place links to jump into different cabins or spaces.

The tour!